How to Map Your Drainage System
Drainage records are easy to fall behind on.
A course might have an old as-built, a hand-drawn plan, a PDF in a folder, or a few people who know the system well from years of work on the property.
That can be enough for a while, but drainage systems change over time. Lines get added, bunkers get rebuilt, low areas get tied into existing systems, and basins get cleaned, repaired, or replaced. If those updates are not recorded somewhere, the drainage plans slowly stop matching what is in the ground.
This guide covers how to build a drainage system map you can actually maintain: where to look for the records you already have, what to map first, what to record on each asset, and how the map becomes a drainage record plan over time.
You do not need to know everything to get started
Most courses have gaps in their records. Some information comes from old plans, some from field knowledge, and some from work that gets completed over time. You do not need a perfect map on day one. Start with what you know and keep improving the record as more information becomes available.
First, find the drainage plans you already have
Before mapping anything, spend an hour looking for existing records. Courses usually have more than they think, scattered across:
- Construction and renovation as-builts. The architect, builder, or drainage contractor from any major project likely delivered drawings. Check with the firms directly if the course’s copies are gone; contractors often keep project files for decades.
- The previous superintendent’s files. Old filing cabinets, shop drawers, and personal folders are where hand-marked plans tend to survive.
- Irrigation as-builts. Drainage often got sketched onto irrigation drawings during projects, since the same trenches and crews were involved.
- Clubhouse archives and committee minutes. Greens committee records sometimes document where and when drainage work was approved and installed.
- Your drainage contractor’s records. Whoever installed your recent lines has invoices, sketches, and sometimes GPS data for that work.
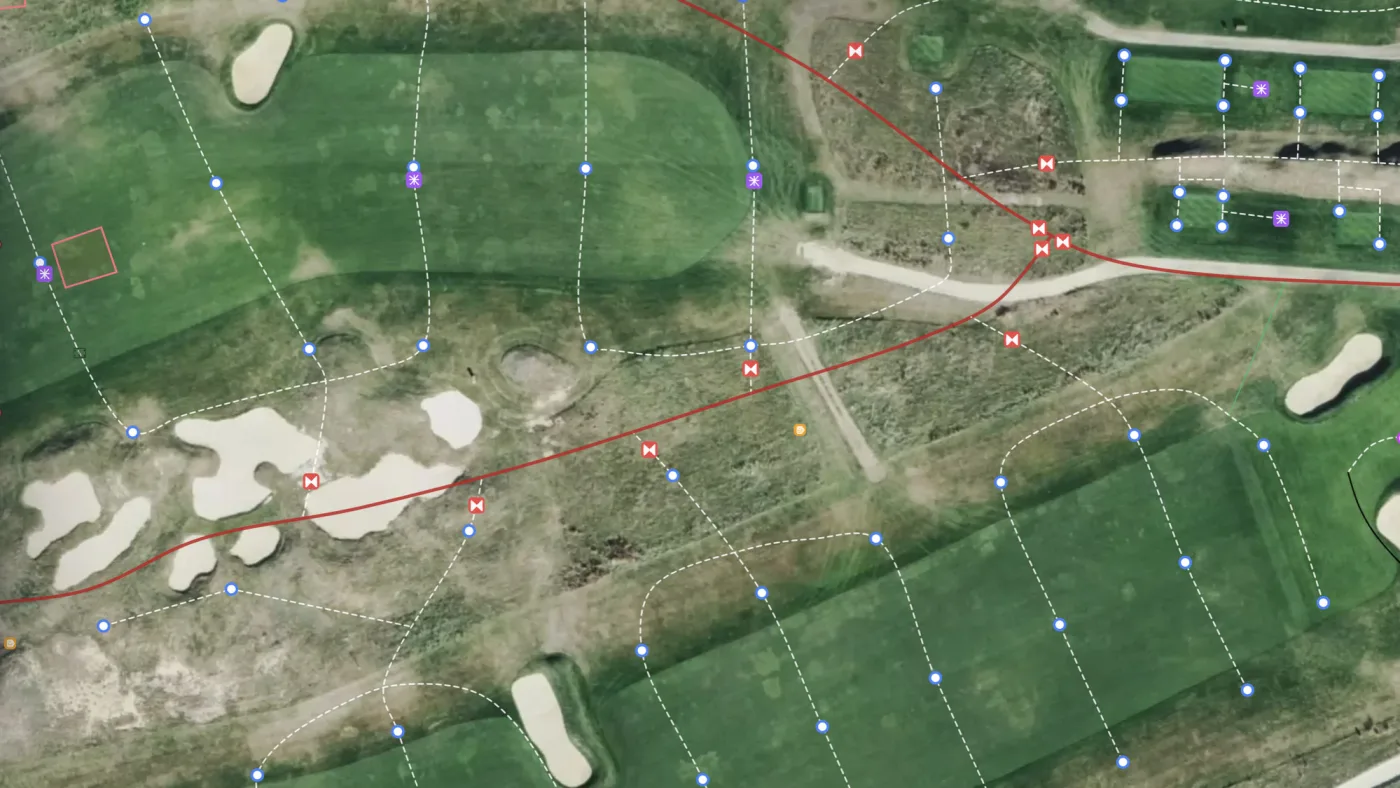
Whatever you find does not need to be accurate to be useful. An old plan gives you a starting skeleton to confirm or correct in the field. In Turfile, you can add a scanned or PDF plan to the map as a layer and trace the real system over it, so the old drawing keeps its value without being trusted blindly.
1. Map what you know
Start with the areas of the drainage system you already understand.
This might come from an old drainage plan, an as-built, a recent project, or knowledge from your team. If you know where a line runs, where an outlet is located, or where a basin connects, add it to the map.
If long-serving crew members know the system, walk it with them and map while they point. This is some of the most valuable work on the whole project, because that knowledge exists nowhere else and is lost when those crew members leave. Our piece on the as-built map problem covers why most courses end up in that position.
2. Map the main lines first
Begin with the main drainage lines.
Focus on the larger structure of the system before adding smaller details. Mapping the main lines first gives your team a clearer view of how the system is laid out and makes it easier to add more information later.
The map does not need to be perfect right away to be useful.
3. Add the points your team needs to find again
Once the main lines are mapped, add the key points of interest: catch basins, outfalls, cleanouts, inspection points, and bunker drains.
These points make the map useful for day-to-day work in the field. When a basin plugs during a storm, whoever responds can navigate to it instead of searching for it.
4. Record details on each asset
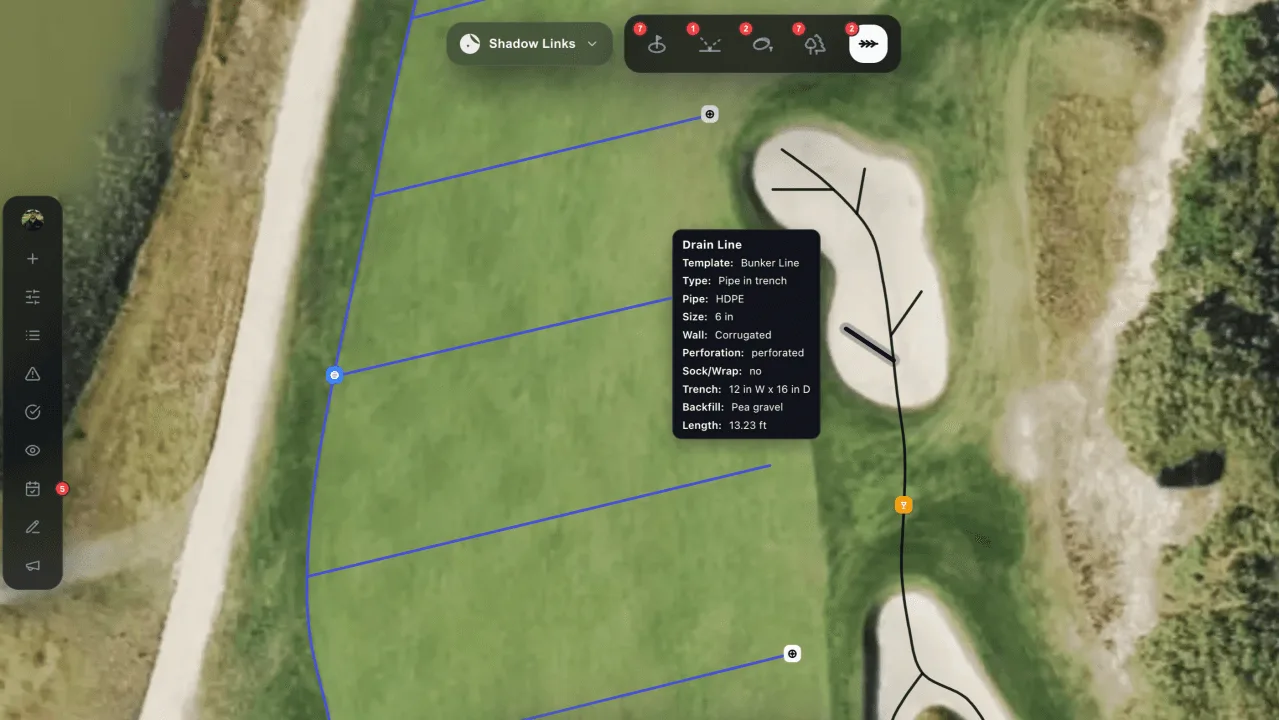
A drainage system map gets more useful as each asset carries its own information. Where you know them, record:
- Pipe size and material (4 inch corrugated, 6 inch smooth wall, clay tile)
- Flow direction, so anyone can trace a problem downstream
- Condition and photos, especially of open trenches before they close
- Install or repair dates, even approximate ones
The single best habit is photographing every open trench before backfill. A phone photo pinned to the map at that location takes about ten seconds and gives you a permanent record of what is in the ground.
Use storm days
Heavy rain is the most useful time to observe the system. Surface water shows you where the system runs, which basins take on water, where flow quits, and which low spots have no drainage at all.
Walk the property during or right after heavy rain and record what you see: standing water locations, basins that back up, outfalls that run and outfalls that stay dry. Those observations often reveal more about the system than any drawing.
From map to drainage record plan
The map becomes a drainage record plan when work starts getting logged on it.
Every flush, repair, and inspection recorded on the asset builds a history of what was done, when, and what to watch for. Seasonal wet areas get logged with dates and photos. Over a few seasons, the course builds a current, complete record of its drainage that does not depend on any one person’s memory.
Frequently asked questions
What if the course has no records at all? Start entirely from the field: visible basins, outfalls, and cleanouts give you the endpoints, rain shows you where water flows, and every repair that opens the ground adds more information. Courses regularly build useful maps from zero this way.
Who should do the mapping? Your own crew. The people who fix the system know it best, and mapping from a phone while walking takes no special skills. A drainage mapping tool built for field use matters more than GIS experience.
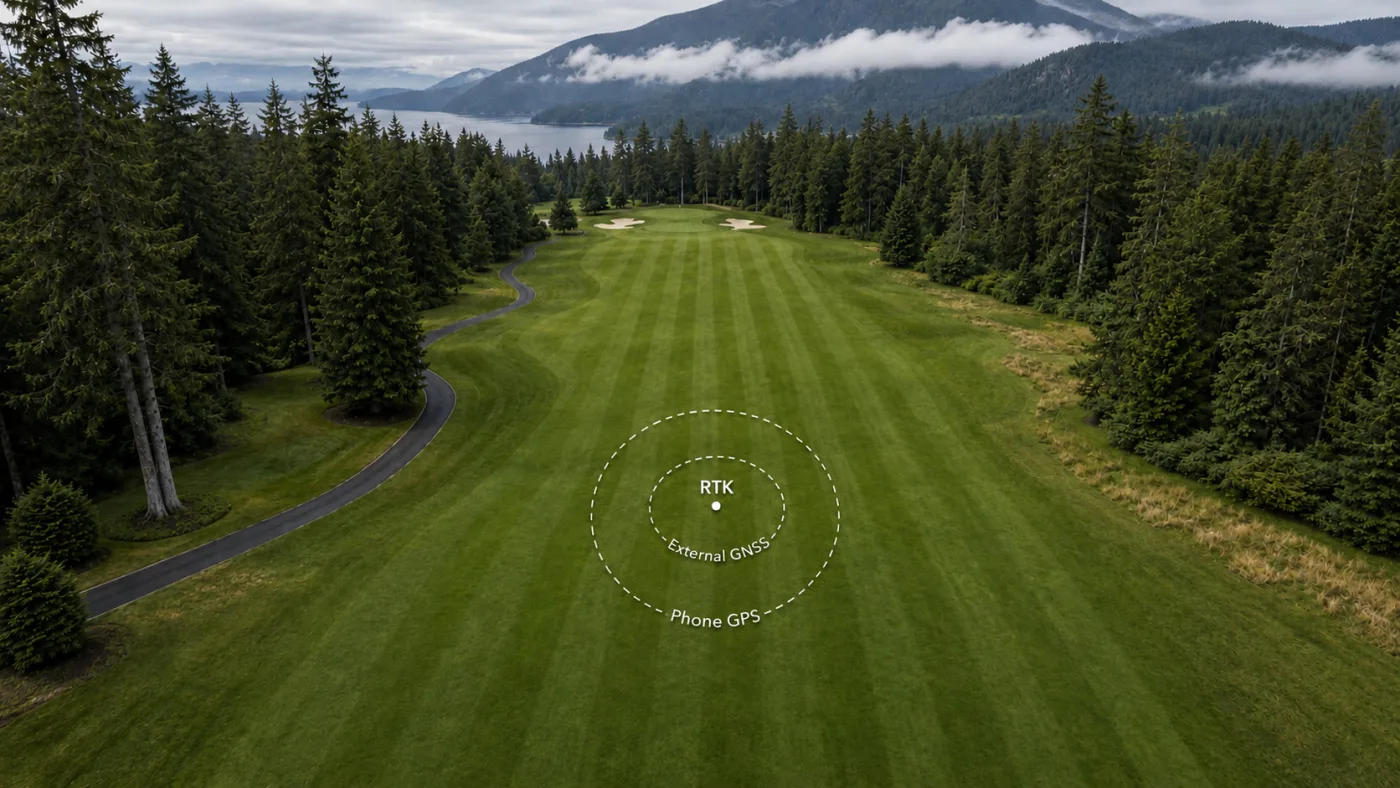
How accurate does it need to be? It needs to be accurate enough to dig in the right spot. Phone GPS plus visual reference against aerial imagery puts you within a shovel’s reach, and you can fine-tune any point on the web app. Courses that want survey-grade accuracy can bring in an RTK crew and import the results.
What about old clay tile nobody can locate? Map it as suspected, based on wet patterns, old plans, and memory, and mark it clearly as unconfirmed. When a line is found during other work, confirm it on the map. A marked “probably here” is more useful than a blank spot.
The drainage docs cover the mechanics step by step, from tracing your first line to setting inspection intervals. Whether you are starting with old plans, field knowledge, or new work being completed on the course, drainage mapping in Turfile gives your team a simple place to build and maintain a clearer record of the property over time.